Process
How to Turn a Logo Into a Custom Light-Up Pin
Start with a clean logo shape, then choose LEDs and colors that help the mark read at pin size.
Start With the Shape of the Logo
The best custom pins usually begin with the shape people already recognize. Before choosing LED colors or clasp options, the logo needs to be simplified into a clean, wearable outline.
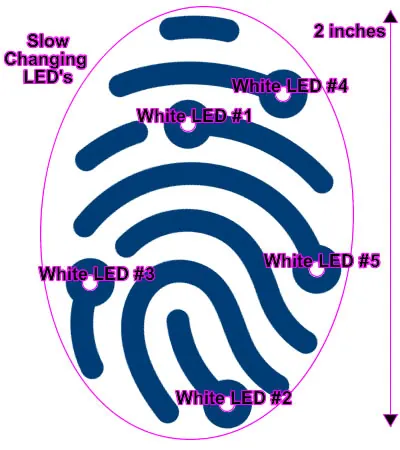
Once the outline works, the LED placement can highlight the part of the mark people should notice first.
Move From Logo Idea to Production Plan
- logo simplification
- LED planning
- PCB proof review
- shape decisions
- production approval
A logo becomes a better light-up pin when the artwork is simplified into a readable shape and the LED locations are chosen intentionally.
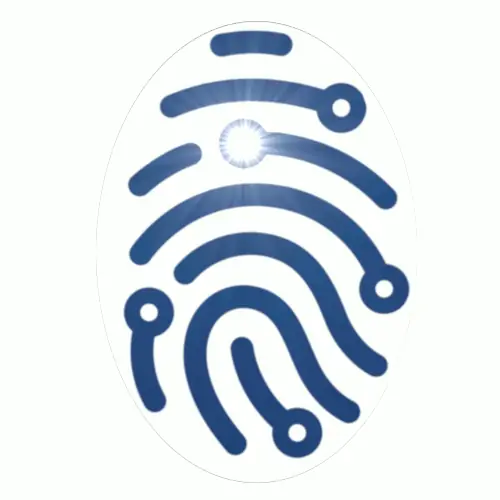
Vivitouch: Fingerprint Artwork to PCB Proof
The Vivitouch fingerprint pin shows the practical path from logo concept to LED diagram to PCB proof.
That sequence matters because the final pin depends on decisions made before production: shape, print detail, LED position, and how the electronics fit behind the artwork.
Logo-to-Pin Planning Notes
| Decision | Planning Detail |
|---|---|
| Logo cleanup | Which details should stay and which can be simplified for pin size? |
| Shape | Can the outside edge follow the logo or does it need a cleaner production outline? |
| LED plan | Which focal points should light up first? |
| Proof review | Who confirms artwork, LED placement, size, and clasp before production? |
| Production fit | Will the electronics fit behind the design without weakening the finished look? |
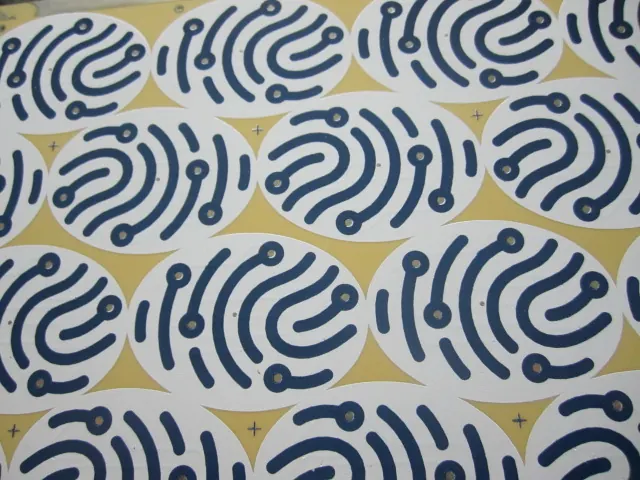
Use the Proof to Confirm the Design
The Vivitouch PCB proof shows how a custom logo idea becomes a production-ready item, not just a picture placed on a pin.
Simplify Before You Add Lights
For logo conversion, simplify the artwork before adding lights; a clean silhouette usually creates a better finished pin.
For a related design decision, see how many LEDs a custom pin should have.
Start a Quote for Logo-to-Pin Planning
Send the logo artwork, preferred size, quantity, deadline, and the parts of the mark you want emphasized with light.
Questions About Logo-to-Pin Planning
How does a logo become a light-up pin?
The logo is simplified into a readable shape, then LED placement, size, colors, and clasp choices are planned around that design.
Why is a PCB proof useful?
It helps confirm that the electronics, lights, and artwork can fit together before production moves forward.
Should every logo detail be preserved?
No. Some details should be simplified so the finished pin stays clear at small size.